A couple of weeks ago I was asked by someone how to add a logo to your photos. There are actually two ways of doing this in Photoshop and I'll teach you both! Some of you may not need this but might be interested in learning something new! Unfortunately I am only teaching it on
Photoshop. It's a very simple trick, so I'm going to literally walk you through it. Cane and all.
Let's start with MAKING a logo! A very simple one of course.
Step 1: Open Photoshop > Select
File >
NewWhen the box pops up, make sure to select
Custom on the
Preset tab (where I circled below). Then set your measurement to
inches and use the following sizes:
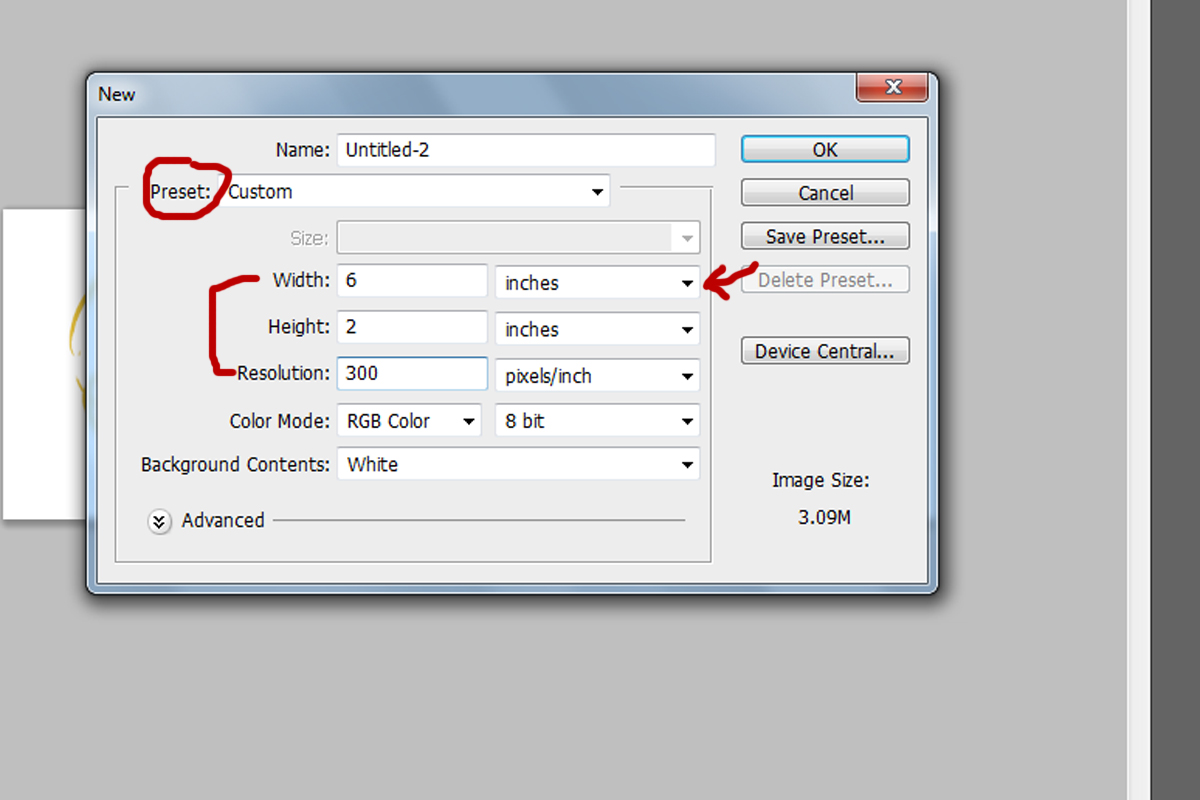
Keep in mind that for the
resolution I put
300 dpi. We won't go into details, just realize that when creating a logo from scratch you NEED a high DPI in order for you to keep a high quality logo when it is being re-sized. It basically allows you to keep a
high resolution when you are transferring it to
high resolution photos.
Step 2: Select the
text tool (button with letter T) > select a special
font > add it to your canvas. Increase the size until it fits nicely
width wise:
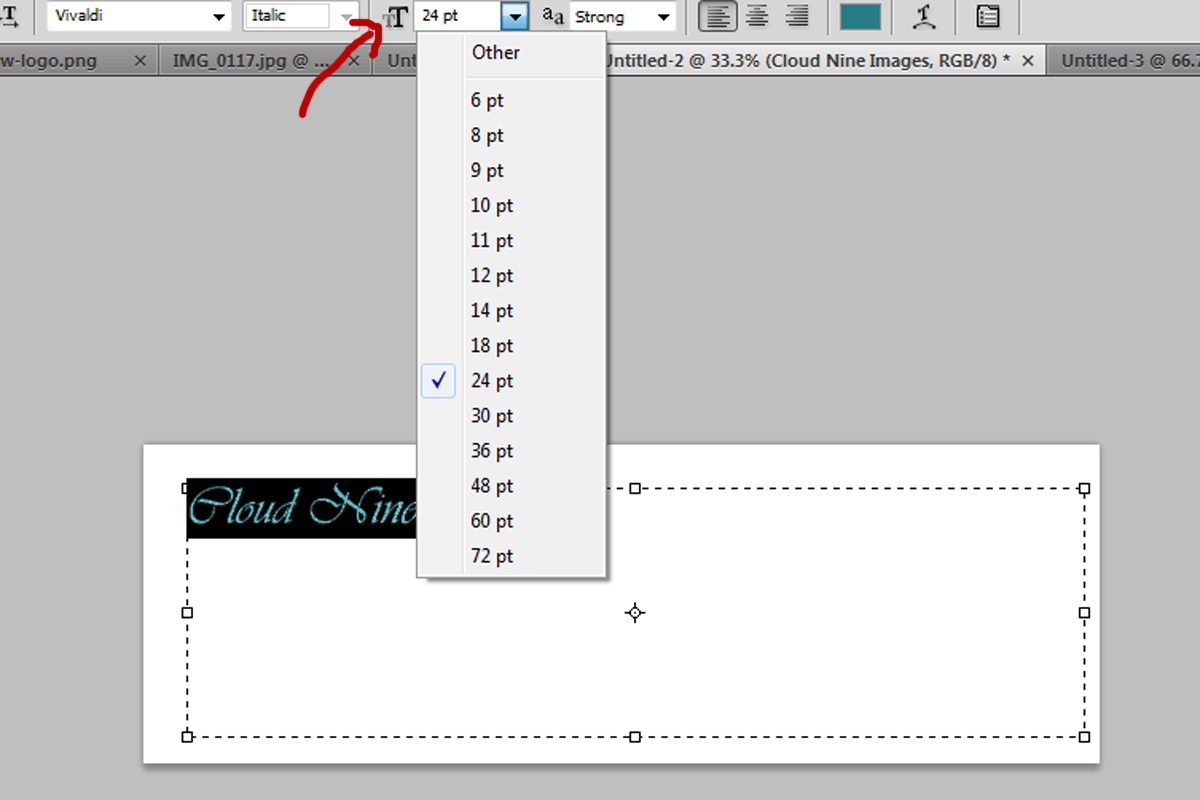
I selected the font
Vivaldi for this example. It's a very pretty font but a little cheesy too :)
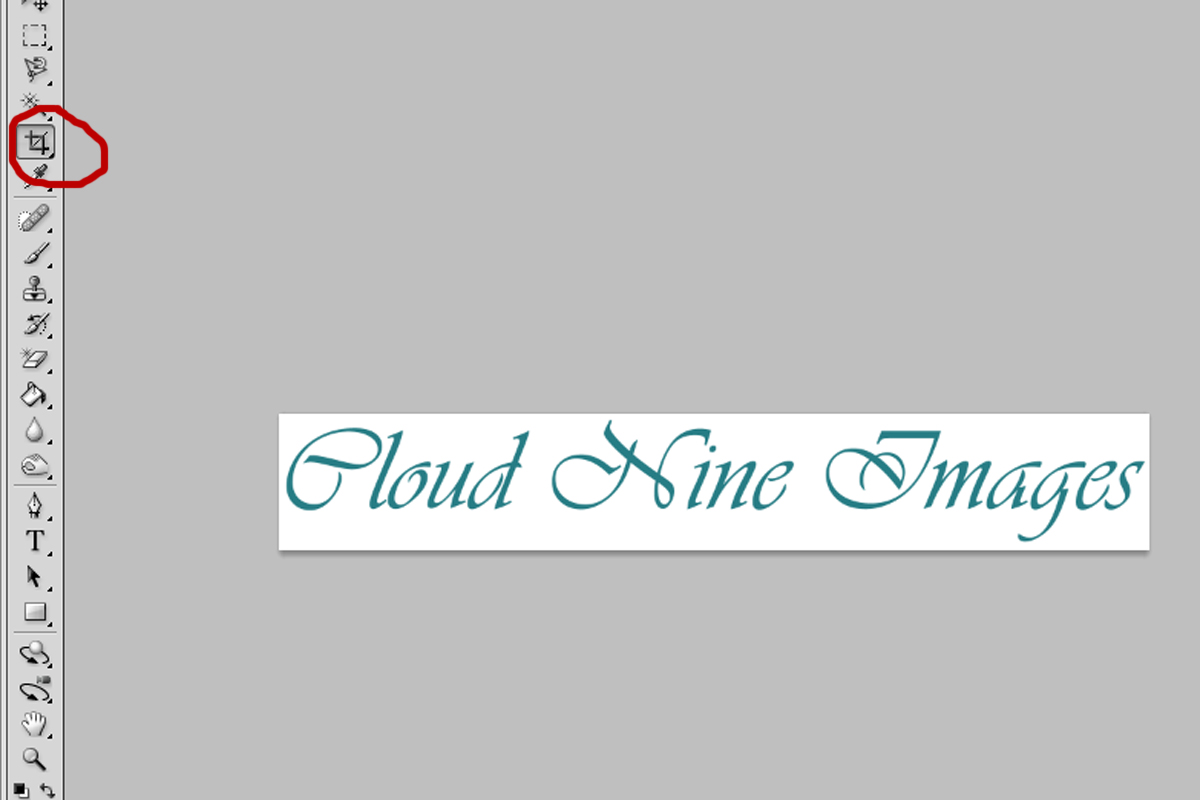
Anyway, after you have chosen your size to fit your canvas, select your crop tool

and crop tightly around your text so you don't have a lot of white space. Basically, it goes from looking like this:
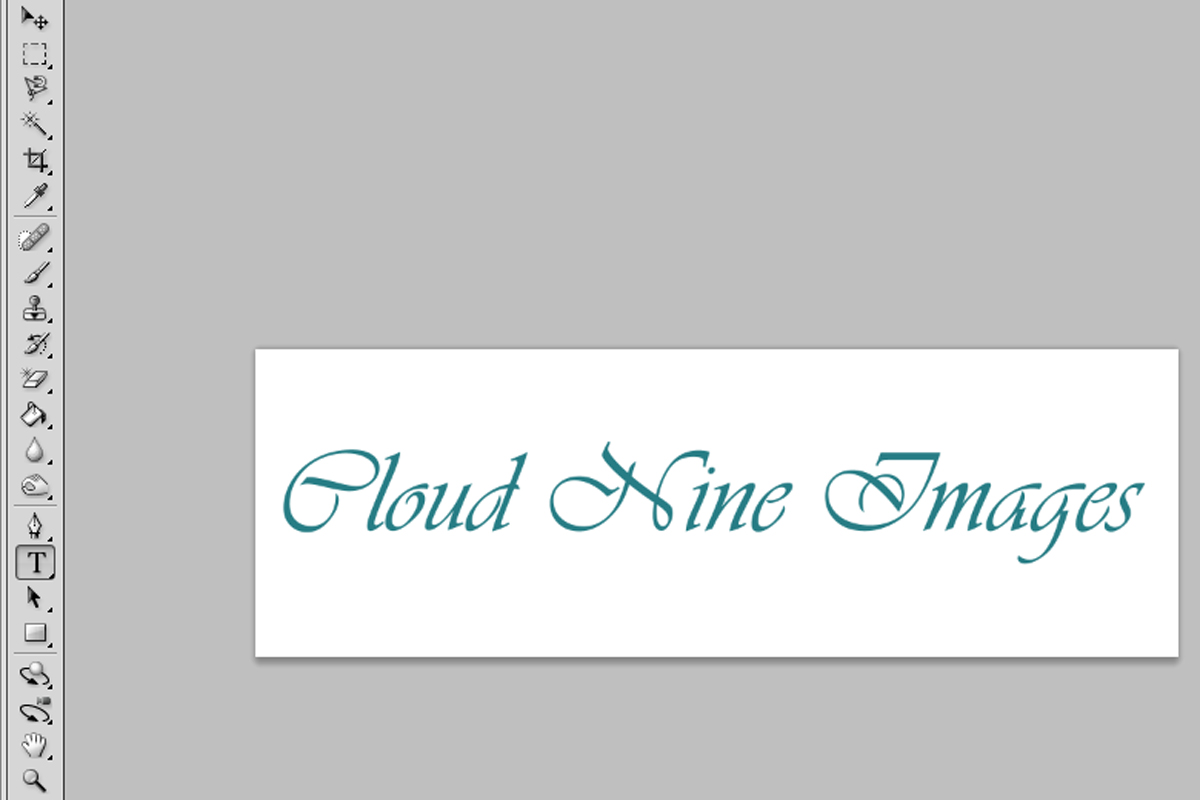
to this:
And now we can take this two ways.
VERSION 1 of turning this into a logo:
Turn it into a BRUSH! Super simple.
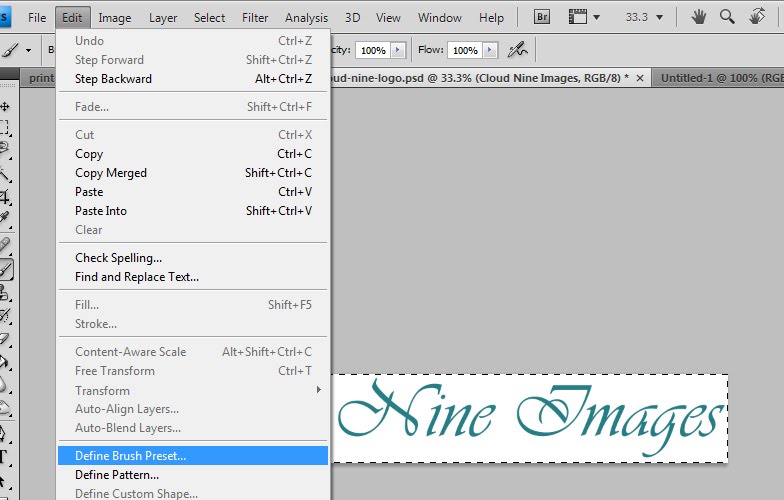
Go to
Select > ALL. Then select
Edit > Define Brush Preset
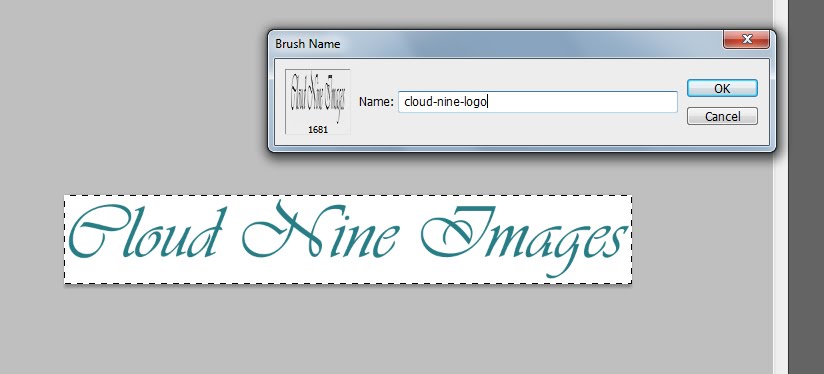
Then name the brush:
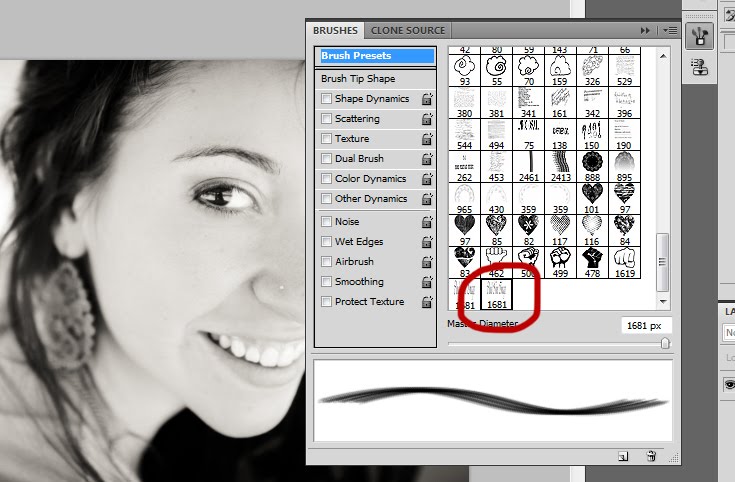
And that's it! You can now open a photo on Photoshop, select your
brush tool, find your watermark/logo, and use it on your photo as any color or size! It's literally a click
and you can change the color.
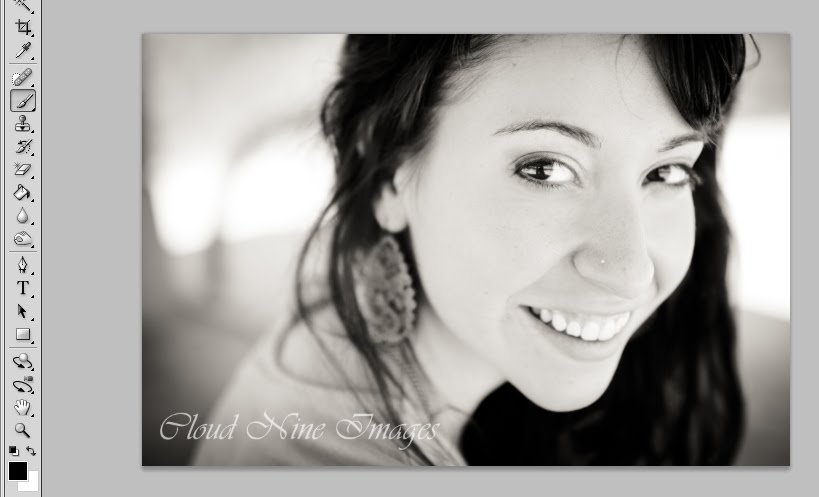
Viola!
This was obviously a very small and easy way to create a logo. Hopefully you learned a trick or two! BUT, what if you hired a designer to create a logo for you?! That's awesome! However, now we need to show you how to place that already-made-logo on your photos. Stick around for part 2.
If you have any problems while trying this out or questions -- send me an email! I'll be writing a few tutorials every other week, so if there's anything you'd like to learn that I might be able to teach you -- ask away!! I was thinking of writing a tutorial on "I have an SLR -- now what?!"