
Let's start with MAKING a logo! A very simple one of course.
Step 1: Open Photoshop > Select File > New
When the box pops up, make sure to select Custom on the Preset tab (where I circled below). Then set your measurement to inches and use the following sizes:
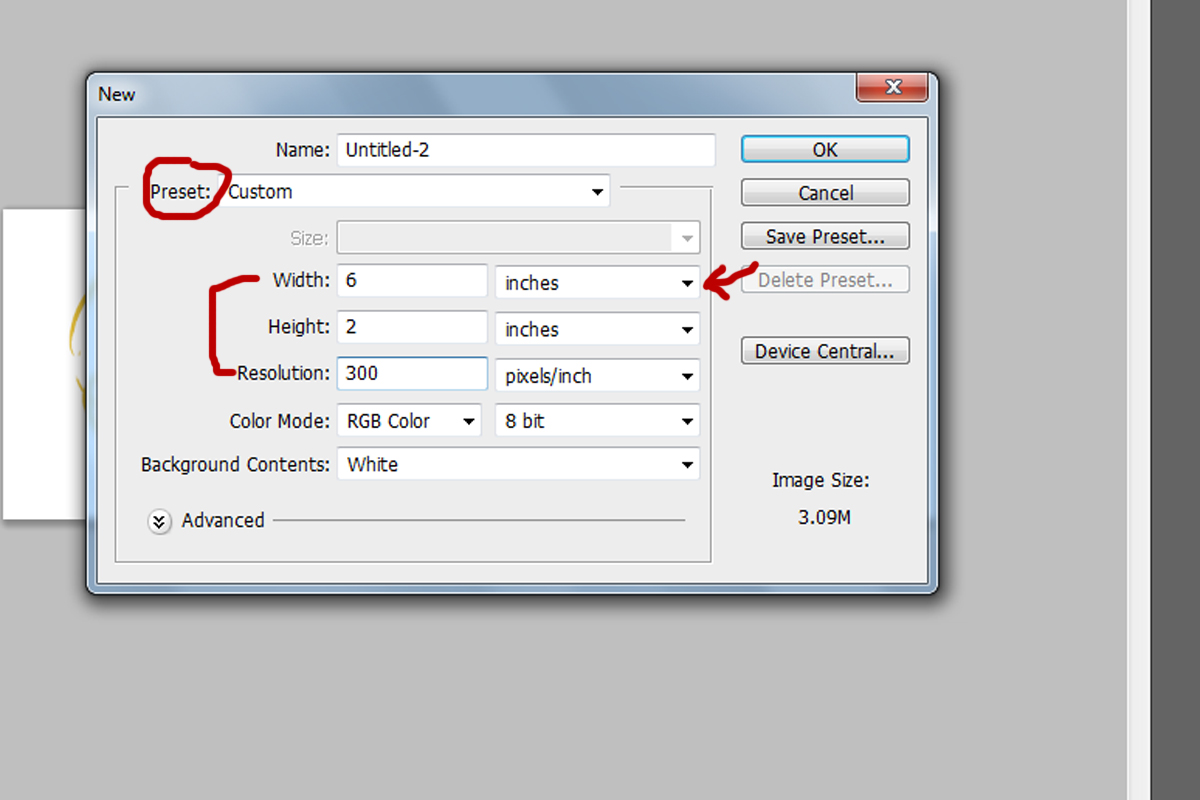
Keep in mind that for the resolution I put 300 dpi. We won't go into details, just realize that when creating a logo from scratch you NEED a high DPI in order for you to keep a high quality logo when it is being re-sized. It basically allows you to keep a high resolution when you are transferring it to high resolution photos.
Step 2: Select the text tool (button with letter T) > select a special font > add it to your canvas. Increase the size until it fits nicely width wise:
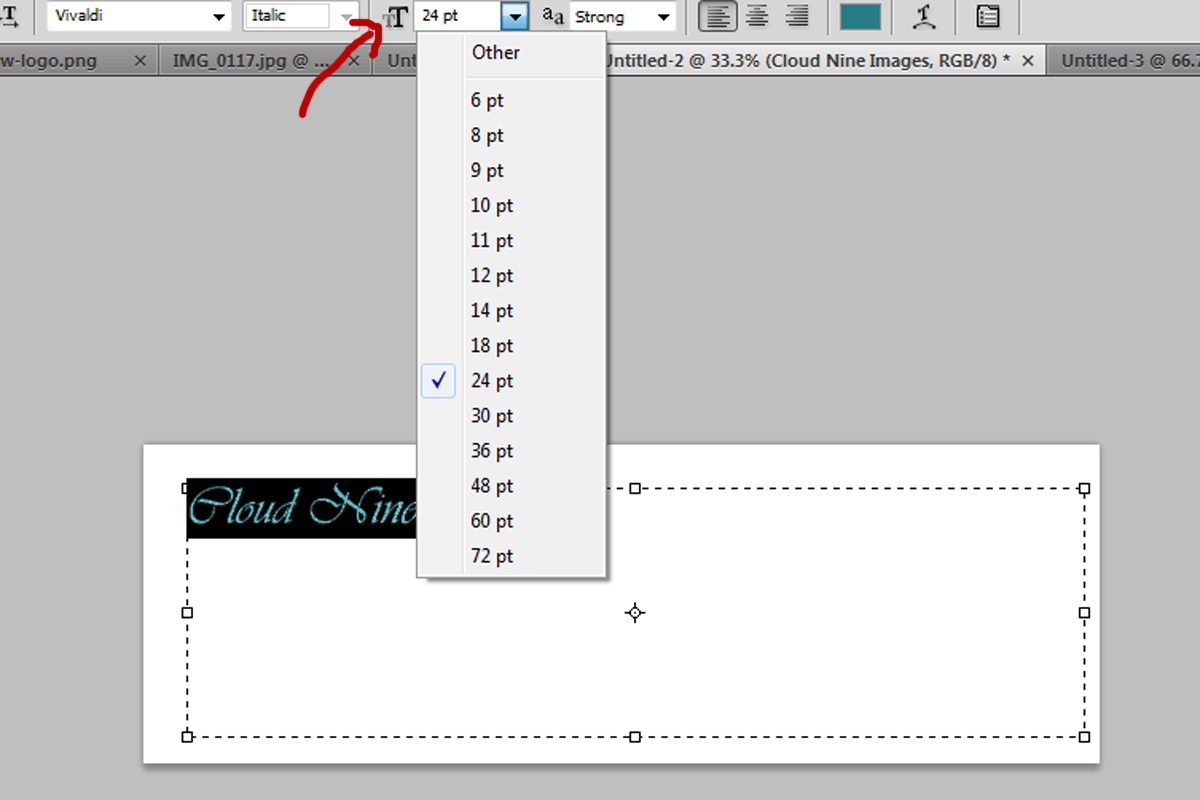
I selected the font Vivaldi for this example. It's a very pretty font but a little cheesy too :)
Anyway, after you have chosen your size to fit your canvas, select your crop tool
 and crop tightly around your text so you don't have a lot of white space. Basically, it goes from looking like this:
to this:

And now we can take this two ways.
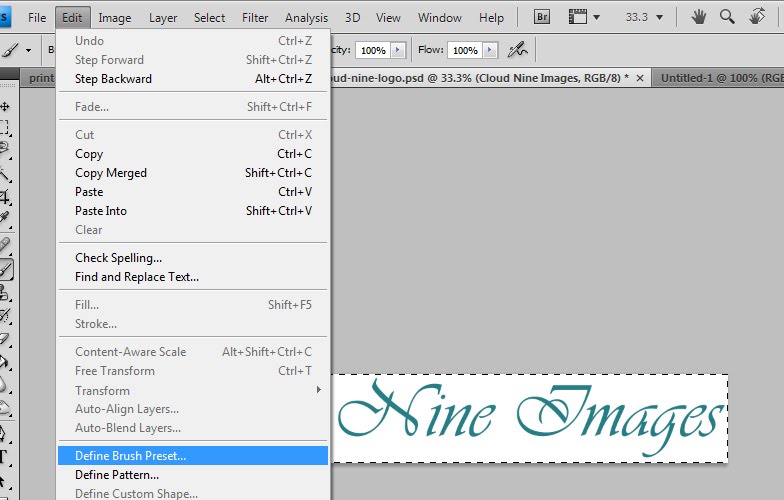
VERSION 1 of turning this into a logo: Turn it into a BRUSH! Super simple.
Go to Select > ALL. Then select Edit > Define Brush Preset
Then name the brush:
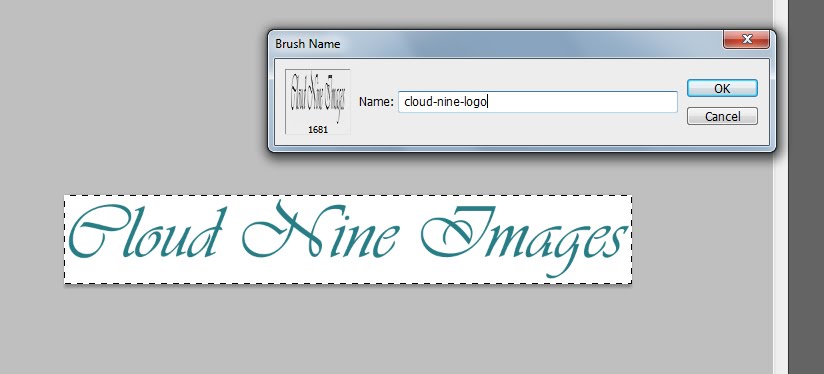
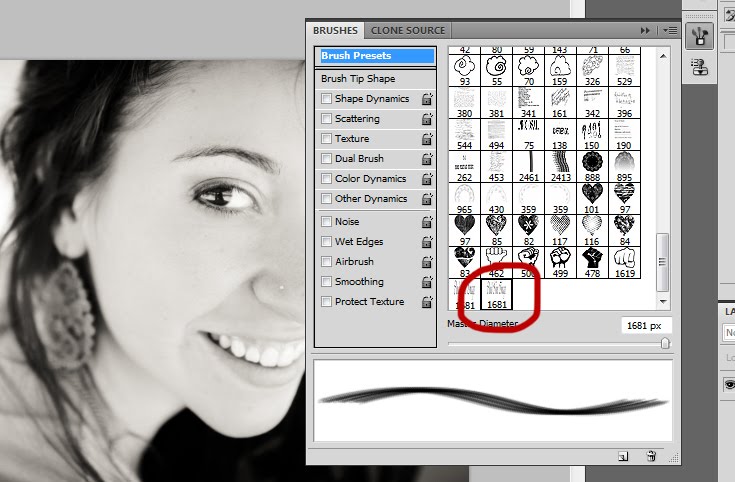
And that's it! You can now open a photo on Photoshop, select your brush tool, find your watermark/logo, and use it on your photo as any color or size! It's literally a click and you can change the color.

Viola!
This was obviously a very small and easy way to create a logo. Hopefully you learned a trick or two! BUT, what if you hired a designer to create a logo for you?! That's awesome! However, now we need to show you how to place that already-made-logo on your photos. Stick around for part 2.
If you have any problems while trying this out or questions -- send me an email! I'll be writing a few tutorials every other week, so if there's anything you'd like to learn that I might be able to teach you -- ask away!! I was thinking of writing a tutorial on "I have an SLR -- now what?!"
0 comments:
Post a Comment